Please note: These instructions do not apply to 2017+ vehicles.
2017+ vehicles will install stock by selecting: StockFile-Engine-Trans.enc from the Custom Tune menu.
Click Here for 2017 Return to Stock Instructions
Prior to Step 1- Ensure your nGauge tuner has the microSD inserted, and that the OBDII cable is plugged in to the OBDII port of the vehicle.

Step 1 – With nGauge plugged into the vehicle and powered on at the main menu, select “Tuning” from the main menu.

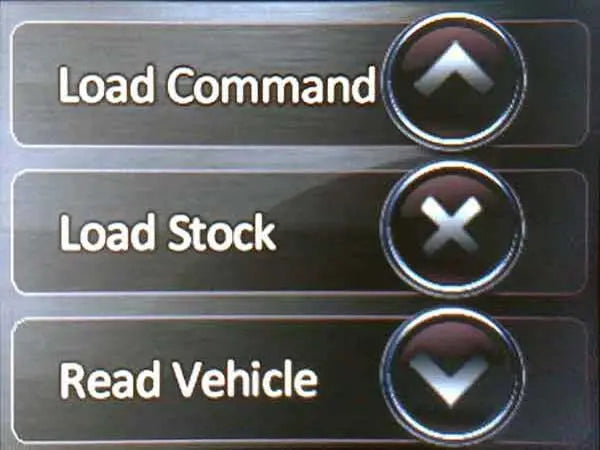
Step 2 – In the “Tuning” menu, scroll down using the down arrow, then select “Load Stock”.

Step 3 – A screen will display with right and left arrows. If you have more than 1 stock file, select which to load by pressing the arrow keys to scroll through the available stock files. Make sure to select the VIN that matches your vehicle. Select the Stock File you want to load by tapping the check mark.

Step 4 – The nGauge will confirm “Flash this tune”? Tap check. Confirm time to flash in next screen by tapping check.

Step 5 – When prompted to Turn Key On, make sure to turn the key on without turning on ignition.

Step 6 – The nGauge will begin saving the stock calibration. Once the nGauge begins saving stock, DO NOT unplug the nGauge or turn the key off. When the stock file is saved, the nGauge will let you know that it is now Downloading the tune.

Step 7 – Once the nGauge completes loading the stock file into your vehicle, the vehicle is back to stock. It will inform you that the stock file installed successfully, and to wait ten seconds until starting the vehicle. Once ten seconds passes, start the vehicle.


